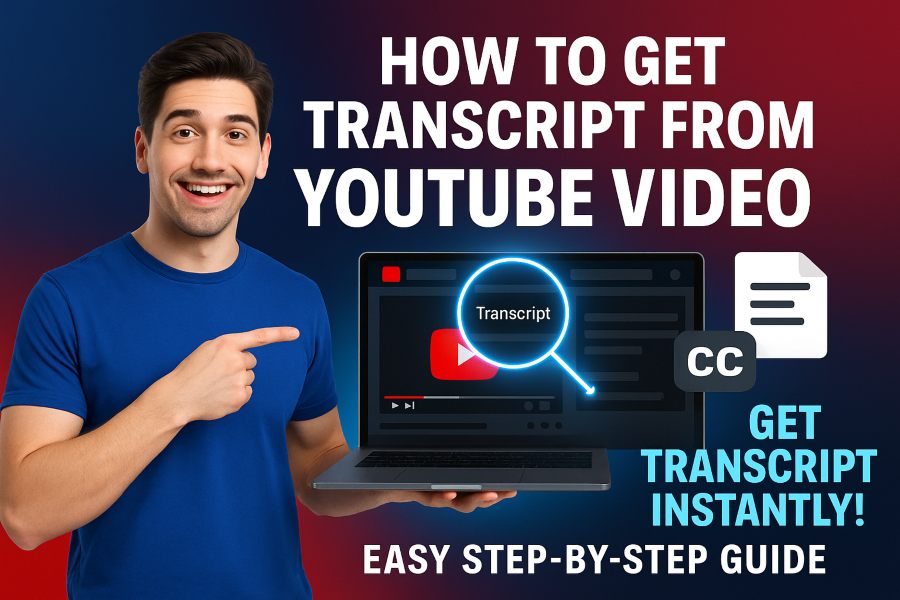
If you’ve ever watched a video on YouTube and wished you had the written version of the audio, you’re in the right place. With over 2 billion logged-in monthly users, YouTube serves as a massive knowledge base—yet reading can often replace listening in many situations.
In this article you will discover how to get a transcript from a YouTube video—step-by-step guidance for both desktop and mobile, plus tips on using third-party tools, handling languages, and avoiding common issues. You’ll learn how to access, download, and repurpose transcripts from YouTube videos for better productivity and accessibility.
Why Getting a Transcript from a YouTube Video Matters
When you capture a transcript from a video you unlock many benefits:
• You create readable text for reference, study or content repurposing.
• You improve accessibility for viewers who prefer to read or need captions.
• You gain SEO advantages when you republish or embed video-text.
• You save time by scanning for keywords or jumping to specific parts of the video.
Since YouTube auto-generates captions for many videos, the transcript is often already there—so it’s simply about knowing where and how to grab it.
How to Get a Transcript from a YouTube Video on Desktop
Getting a transcript on desktop is straightforward if the video offers captions. Here’s how you do it:
- Open the video on YouTube that you want to get the transcript of.
- Look beneath the video title for a “More” button or three-dot menu.
- From that menu select Show transcript.
- A panel will appear on the right side of the video displaying the text, often with time stamps.
- If you prefer no timestamps, click the three-dot menu in the transcript panel and select Toggle timestamps.
- Highlight the transcript text, copy it and paste it into your document or notes.
- Optionally, clean up formatting (remove speaker tags, timestamps) for better readability.
This method works when closed captions exist and are enabled for the video. Note that not all videos have transcripts if the creator disabled them or auto-captioning failed.
How to Get a Transcript from a YouTube Video on Mobile
If you’re using a smartphone or tablet, here’s what to do:
- Open the YouTube app (or mobile browser) and play the desired video.
- Tap the … (three-dot) menu under the video.
- Tap Show transcript (if available).
- The transcript will display, often below the video. You may not be able to copy easily on some mobile apps.
- If available, tap the toggle to hide time stamps.
- If you need to copy the transcript, consider switching to desktop mode in your browser or use a laptop instead for easier text capture.
Because mobile can limit the copy-and-paste experience, desktop remains the better option for full transcript retrieval.
What to Do if “Show Transcript” is Missing
Sometimes the transcript option won’t appear. Here’s why and what you can do:
• The video creator disabled captions.
• Auto-generated captions are not available (for example, poor audio quality or music-heavy content).
• The language of the video has no caption track.
• The embedded player restricts transcript display.
If you encounter this, try one of the following approaches:
• Use a third-party YouTube transcript generator tool—paste the video URL and it will produce the text for you.
• Download the video (if you own it) and upload to a transcription service or software.
• Enable “Auto-translate captions” if captions exist but in another language, then copy the translated version.
Using Third-Party Tools to Extract Transcripts
Several tools simplify transcript extraction without manual copy/paste. Here are common features:
• Paste the YouTube URL into the tool and press “Generate transcript”.
• View or download the transcription in .txt, .doc or other formats.
• Toggle timestamp on/off and choose language if supported.
• Some tools provide AI summaries, speaker labels, translation, or export features.
These tools save time when dealing with long videos or when you need structured output for repurposing. Just verify the transcript accuracy, especially if auto-captioning was used originally.
Downloading a Transcript for Your Own YouTube Video
If you uploaded the video, you have more control:
- Log in to YouTube Studio.
- Navigate to Content and select the video.
- Go to Subtitles.
- Find the caption track you want, click the three-dot menu next to it and select Download (options include .srt, .vtt, .sbv).
- Open the downloaded file and edit/clean as needed (remove markup, timestamps).
- Paste the content into your video description or blog to enhance SEO, accessibility and readability.
Having the original file ensures higher accuracy and full control over formatting.
Best Practices for Repurposing the Transcript
Once you have the transcript, you can leverage it in many ways:
• Past it into blog posts, articles or show notes to repurpose the content.
• Add it as an uploaded caption file to increase accessibility and search visibility.
• Convert it into a PDF or shareable document for training or team reference.
• Use it as input for AI tools (e.g., summarizers) to create condensed key-points, quizzes or social posts.
• Translate it into other languages to reach a wider audience.
Make sure you review the text for any errors in auto-captioning, speaker labels, or formatting prior to publication.
Handling Multiple Languages and Translations
Many videos include multiple language captions or allow auto-translation. To access:
• After opening the transcript panel, click the language dropdown and select the desired language.
• If translation is available, you may copy the translated transcript.
• On third-party tools, choose the target language before generating the output.
Using multilingual transcripts broadens your audience and boosts accessibility—important for targeting international users.
Common Pitfalls and How to Avoid Them
Avoid these mistakes when retrieving transcripts:
• Copying from mobile but losing formatting or missing parts. Use desktop for full capture.
• Forgetting to toggle off timestamps, resulting in cluttered text.
• Relying solely on auto-generated captions without proofreading—they often mis-interpret words, speakers or accents.
• Publishing the raw transcript without editing—this may harm readability and user experience.
• Using copyrighted videos without permission for republishing transcripts—check usage rights.
Address these to ensure you’re not only extracting the transcript but making it truly useful.
Tips for Better SEO and Accessibility with Transcripts
Here are actionable tips:
• Embed the transcript in your webpage or blog, providing search engines with indexable text.
• Match the video, transcript and description to improve keyword alignment and context.
• Add headings or chapter markers in transcripts to enhance usability.
• Provide downloadable transcript files for users who prefer offline reading.
• Use speaker labels and clean formatting for better readability and comprehension.
• For creators: upload high-quality audio and clear speech to improve auto-caption accuracy.
By combining these, you turn a simple transcript into a strategic asset for visibility and engagement.
Final Thoughts
Accessing a transcript from a YouTube video is easier than ever—whether you use YouTube’s built-in Show transcript feature, a third-party tool, or download your own captions from YouTube Studio. For desktop users the process is seamless, mobile requires extra care, and when the transcript option is missing you still have workarounds.
Every transcript you grab offers value: for accessibility, content repurposing, SEO and efficient note-taking. Make sure you clean up the text, assign speaker labels if needed, handle multiple languages properly and always respect copyright. With these steps you’re fully equipped to get a transcript from a YouTube video and turn it into meaningful content for your audience.